How to install a free SSL Certificate in cPanel?
Installing a free SSL certificate in cPanel is very straightforward and can be done in less than a minute. Here are the easiest possible steps to get your domain secured.
Step 1: Log in to cPanel
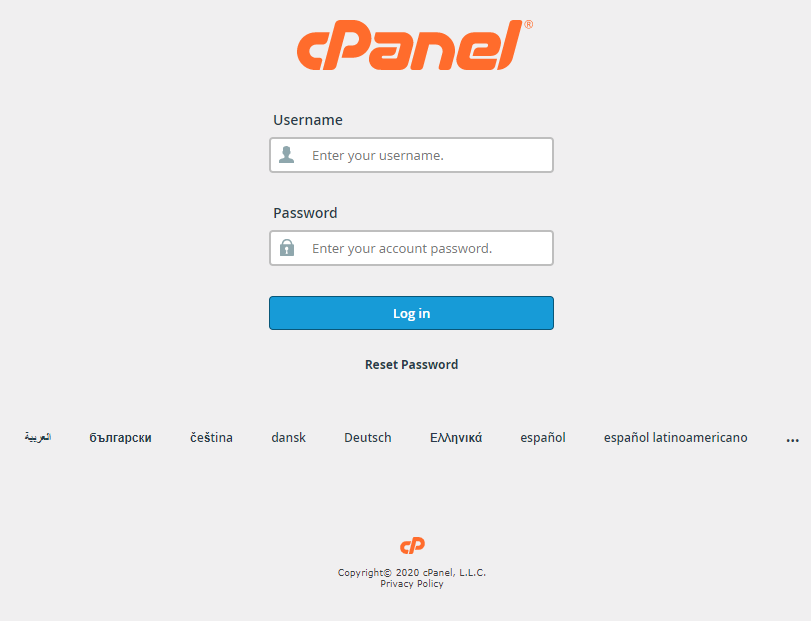
Log in to your cPanel hosting account, usually found at domain.com/cpanel or domain.com:2083.
When visiting the URL, you will be greeted with the following page:

Enter your hosting account details and proceed to log in.
Step 2: Locate the "SSL/TLS Status" application within cPanel
Once logged into cPanel, locate the "SSL/TLS Status" application within cPanel; it should be under the "Security" category.

Once you have located it, click on it and proceed to the next step.
Step 3: Verify you do not have an SSL already installed
The SSL/TLS Status application should show you whether your domains have been secured. Our servers will automatically install the SSL for you in most cases, as we run checks every 2 hours.
If an SSL is installed correctly on the domain, it should appear as a green icon next to it. If otherwise, it will come up as a red icon.

Step 4: Running Auto-SSL
Now that you have confirmed you do not have a working SSL certificate installed on your domain click the "Run Auto-SSL" button towards the top of the page.

After clicking the button, it should then run Auto-SSL. Auto-SSL will automatically go through all your domains and secure them accordingly with a 2048-bit SSL certificate issued by Comodo or Lets Encrypt.
FAQ
Do all web hosting plans come with free SSL certificates?
All our Hosting plans come with the ability to install Free SSL certificates.
Is there a limit to how many SSL certificates you can install?
No, there is no set limit. You can install as many free SSL certificates as you would like.
Can it be installed on subdomains and addon domains as well?
Yes, you can install it on both subdomains and addon domains.


